Tuesday, January 18, 2011

Questions about Glass Clay

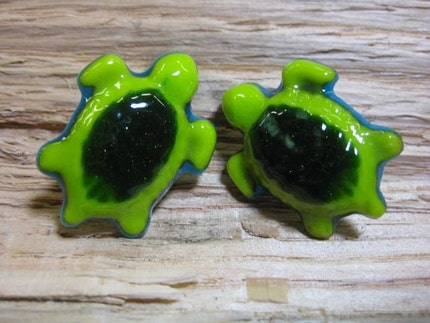
Pate de verre Turtle Earrings by GeltDesigns.com
We received a number of questions recently from folks working with commercially made glass clay. Sorry. We never used the stuff. We began making our own glass clay long before anybody was selling glass clay commercially so we really cannot comment on why folks seem to be having difficulty using the commercially prepared product... other than to say there is a learning curve with all warm glass techniques.

Pate de Verre on a Wire: Think Spring
by GeltDesigns.com

When we began experimenting with different pate de verre techniques (including freeze and fuse and glass clay) we had a LOT of mistakes, failures and really ugly experiments. It happens.

Two years ago I was invited to give a presentation on Pate de Verre and PMC at the PMC Conference, another presenter discussed freeze and fuse and I was surprised at how different their firing schedule was from my own.

When it comes to both freeze and fuse and glass clay, in our studio we tend to allow the clay to dry out longer, fire a LOT slower and anneal the glass longer than did some of my presenting peers... but then we are always always trying to push the envelope to tease out the most colors in my work.

Bottom line: kilns vary and firing schedules are not absolute. Keep detailed records and expect trial and error when working with glass clay... and consider making your own. It is not difficult to do and you can make a greater variety of colors.


Pendant by GeltDesigns.com
Related Tutorials
All about Glass Clay
How to Make Glass Clay
How to Use Glass Clay
How to Form Glass Clay
How to Fire Glass Clay
Freeze and Fuse: Pate de Verre the Easy Way
 
Further Reading
Warmglass.com

Thursday, January 13, 2011

How to Select a Cup Burr

Cup burrs are great tools for filing the ends of wire. Cup burrs are a fabulous tool for making ear wires, ear posts, clasps and building chains. Cup burrs can save you a lot of time when fabricating your own jewelry or findings.

Recently, we have received a number of questions about which cup burr is the best to use for jewelry making. The answer, of course, is that "it depends" on the project.

Like most tools, there is no definitive rule about which cup burr must be used. The best cup burr is the one that works for you. With that said, I generally use a cup burr that is two gauge sizes larger than the wire I am using. For example, if I am using 20-gauge wire (.8 mm) or 21-gauge wire to create ear wires or posts, then I typically use an 18-gauge cup burr (1.0mm). If I am using 18-gauge wire, I usually use a 16-gauge cup burr (1.3mm). If I am using 16-gauge wire,  I most often select a 14-gauge or 1.6mm cup burr.

Many companies sell cup burrs using metric measurements rather than wire gauges...so it is helpful to know the metric size of typical wire.

Wire Gauge        MM                  
10                        2.6mm
12                        2.1mm
14                        1.6mm
16                        1.3mm
18                        1.0mm                
20                        0.8mm
21                        0.7mm
22                        0.65mm
24                        0.5mm
26                        0.4mm
28                        0.3mm

Friday, January 7, 2011

How to Make Jump Rings

Jump rings are an important component in many jewelry projects. You can purchase commercial jump rings but making your own is both more economical and allows you to make exactly the size and shape jump ring you need for a particular project. Below is a brief tutorial on how to make your own jump rings. 

Tools
Round nose pliers  or 3-Step wire looping pliers
Chain nose or bent nose pliers
Wire rounder or needle file or cup burr and flex shaft
Jewelry saw and blades or wire side cutters or flush cutters
Mandrel
Steel bench block or anvil
Rawhide or plastic mallet

Step 1
Wrap the wire around a mandrel. The first and last wrap will not likely result in a nice jump ring. Add at least two wraps to the number of jump rings you require for your project.

We used a mandrel from our dapping set, but you can use many things (inlcuding a pen or pencil) as a mandrel. The size mandrel determines the size and shape of the jump ring.

Step 2
Remove the coiled wire from the mandrel and cut the coil using a jewelry saw and blades.

If you do not have a jewelry saw and blades, then you can use wire side cutters or flush cutters. Note that a jewelry saw and blades will result in a cleaner cut that will be easier to solder.

Step 3
File the ends of the jump ring smooth using a wire rounder or needle file or cup burr and flex shaft.  

Step 4
Adjust the shape of the jump rings to form a square or an oval, if desired.

Step 5
Place the jump rings on a steel bench block or anvil and hammer the jump rings with a rawhide or plastic mallet to harden the jump rings and prevent them form becoming misshapen. The jump rings may be slightly misshapen when hammering; if needed, adjust the jump rings with chain nose or bent nose pliers.

Note: If you are making a lot of jump rings, consider using a tumbler to harden the jump rings. 

Related Tutorials
How to Use a Jewelry Saw
How to Smooth Sharp Edges on Copper, Brass and Sterling Wire 
Make Earrings from an iTunes Gift Card

Further Reading 
"Complete Metalsmith: Professional Edition"; Tim McCreight; 2004.
"Jewelry: Fundamentals of Metalsmithing (Jewelry Crafts)"; Tim McCreight; 1997.  
"Jewelry: Concepts And Technology"; Oppi Untracht; 1982.

Monday, January 3, 2011

How to Make Frit

My kids laugh when I say it....I know it is a lame, bad pun...but frit happens.

One of my favorite way to take my frustration out on failed warm glass projects is to turn the project into frit. The project cracked in the kiln? Oops. "You're frit now, baby!"

Low on funds? You can break glass bottles and jars into frit and then use the frit to fuse or cast the glass.

Plate Cracked & Bubbled in Kiln
Turing a glass into frit is a fancy way of saying I break the glass into small pieces that I can be used to decorate other projects and to fuse into another project. There are a number of different ways to create frit. Some folks like to heat the glass in the kiln and then drop the hot glass into a bucket of cold water.

My favorite technique of making frit requires a hammer and something to catch the small pieces. Very basic. Very therapeutic. I use a box constructed of wood to make frit. After cleaning the glass, I put the glass into a plastic bag to keep the glass clean. I place the glass into the wood box and then hit the glass with an old, heavy sledge hammer until the glass is the size frit I want.

Frit in Jars
Regardless of which method you use to make frit the result will be different size glass. Sift or sort the frit according to sizes and store it for future use. I like to store the glass in a clear plastic container (pulled from the recycling bin, of course) so I can see the frit. I also like to label the glass with the COE since we use different COE glass for different projects in our studio.

Making your own frit from failed projects is great therapy, as well as being a great way to reuse glass for kiln formed projects.

Related Tutorials
Turn a Glass Jar into a Pendant
How to Make Fused Glass Frit Paintings
How to Make a Fused Glass Mosaic
How to Make a Fused Glass Bead

Further Reading
"Warm Glass: A Complete Guide to Kiln-Forming Techniques: Fusing, Slumping, Casting";  Philippa Beveridge, Ignasi Domenech, Eva Pacual; 2005.
"Contemporary Warm Glass: A Guide to Fusing, Slumping & Kiln-Forming Techniques": Brad Walker; 2000.
"Fused Glass Handbook"; Gil Reynolds; 1987.
"Fuse It - 18 Fused Glass Projects": Petra Kaiser; 2007.
"Innovative Adornments - Introduction to Fused Glass & Wire Jewelry";  Jayne Persico; 2002.
"Richard La Londe: Fused Glass Art and Technique"; 2006.

New & Noteworthy
"Contemporary Fused Glass";  Brad Walker; 2010.
"Microwave Kiln Techniques: For Fused Glass Jewelry, Stained Glass Projects and Silver Clay"; Geneva Perkins. 

Friday, December 17, 2010

How to Measure Drill Bits

So a question we get a lot is "what drill bit should I use for my project?"

It is a good question because the success or failure of many projects-- especially those that involve riveting-- depends on drilling the correct size hole for the wire or findings needed.

Drill Gauge
The best tool for determining the right jewelry drill bit size for the job is a drill bit gauge that measures small drill bits. For larger bits, you will need a larger gauge. Almost all the bits we use can be measured using the 1 to 60 drill bit gauge.


How to Use the Gauge
The gauge is easy to use. Take a piece of wire the size you plan to use for your project or the same size as your finding and slip it into the hole of the gauge that fits snug. The hole that fits is the exact size of the drill bit. If you are riveting, then you will want to use the same size bit as is the wire. If you are putting a wire through the hole as a finding, then you will want to use a drill bit that is larger than the wire so the finding can move freely when fed through the drilled hole.

Test the Drill Bit
Once you tested the wire, pick up the drill bit and slide it into the hole to be sure you have the correct size.

Mystery Bits
If you are like us, then you have a box that is filled with drill bits of different sizes. We often use the drill gauge to determine the size of mystery bits before we begin drilling.

Related Tutorials
How to Drill
How to Use a Drill Press for Jewelry Making
How to Remove a Drill Bit that Broke Off in Your Art Jewelry During Fabrication
How to Use a Dremel to Make Jewelry
How to Use a Flex Shaft to Make Jewelry
GeltDesigns Tutorials by Topics
New Jewelry a Day


Happy  drilling!


Wednesday, December 8, 2010

Chanukah Craft and Jewelry Projects

 Dreidel Pendant by GeltDesigns
Chanukah is always a lot of fun, but this year we were especially creative using Chanukah objects in the upcycling, repurposing challenge we issued to ourselves for the year.


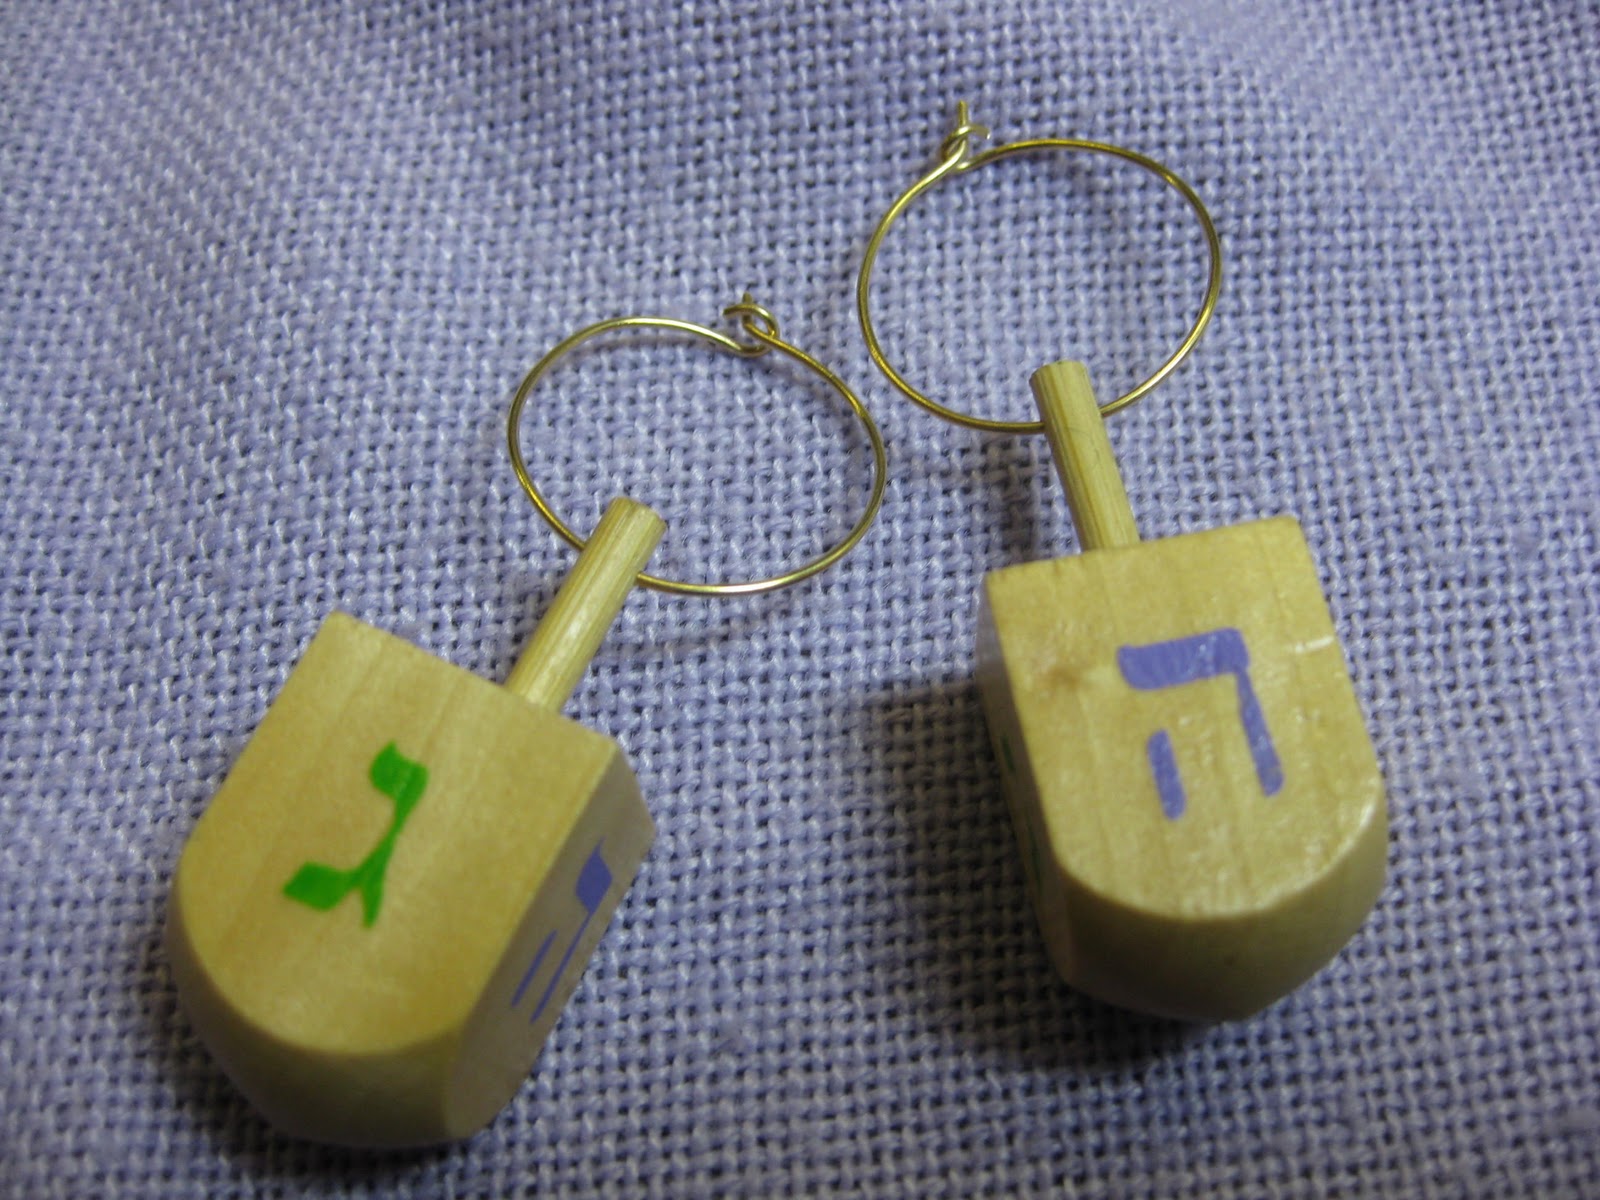
 Dreidel Earrings by GeltDesigns
Here are three tutorials for Chanukah jewelry made from dreidels, bottle caps and other reclaimed materials:

Make Chanukah Menorah Earrings from Plastic Bottle Caps
Make a Dreidel Pendant
Make Dreidel Earrings

If jewelry making is not your thing, here are links to other Chanukah projects you may enjoy on this last night:

Make Your Own Dreidel
Chanukah Craft Projects for Kids
How to Make a Hanukkah Menorah


Happy Chanukah from the girls at GeltDesigns!

Friday, December 3, 2010

Jewelry from Found Objects

So it is almost two weeks since we began our adventure in upcycling. With the holidays coming, we issued ourselves a challenge: no purchasing items to make gifts or new craft projects. The rules are clear: use up what we have and use as many found objects as we can. We can repurpose, recycle, upcycle or otherwise reuse old stuff. We can sift through the recycling cans of neighbors, friends and even readers. We can incorporate craft materials and outgrown or broken toys from the toy box, but the goal is to solve jewelry making tasks every day using found materials.

Everyday we are publishing a new jewelry project made from these found objects on our new blog called New Jewelry a Day.   Of course, what we have in and around our house and studio may not be in yours, but we hope our ideas will help stir your creative thoughts.

Here is a list of jewelry projects from found items to date:

Buttons
 Chain
Copper Pipe
Glass
Elastic Hair Bands
Riveted Scrap Metals
 Steel Wire
Toys
Here is our score card to date:
Day 12. Week 2. Jewelry from Found Objects.  $ spent: 0
New Jewelry a Day.   Join our adventure.